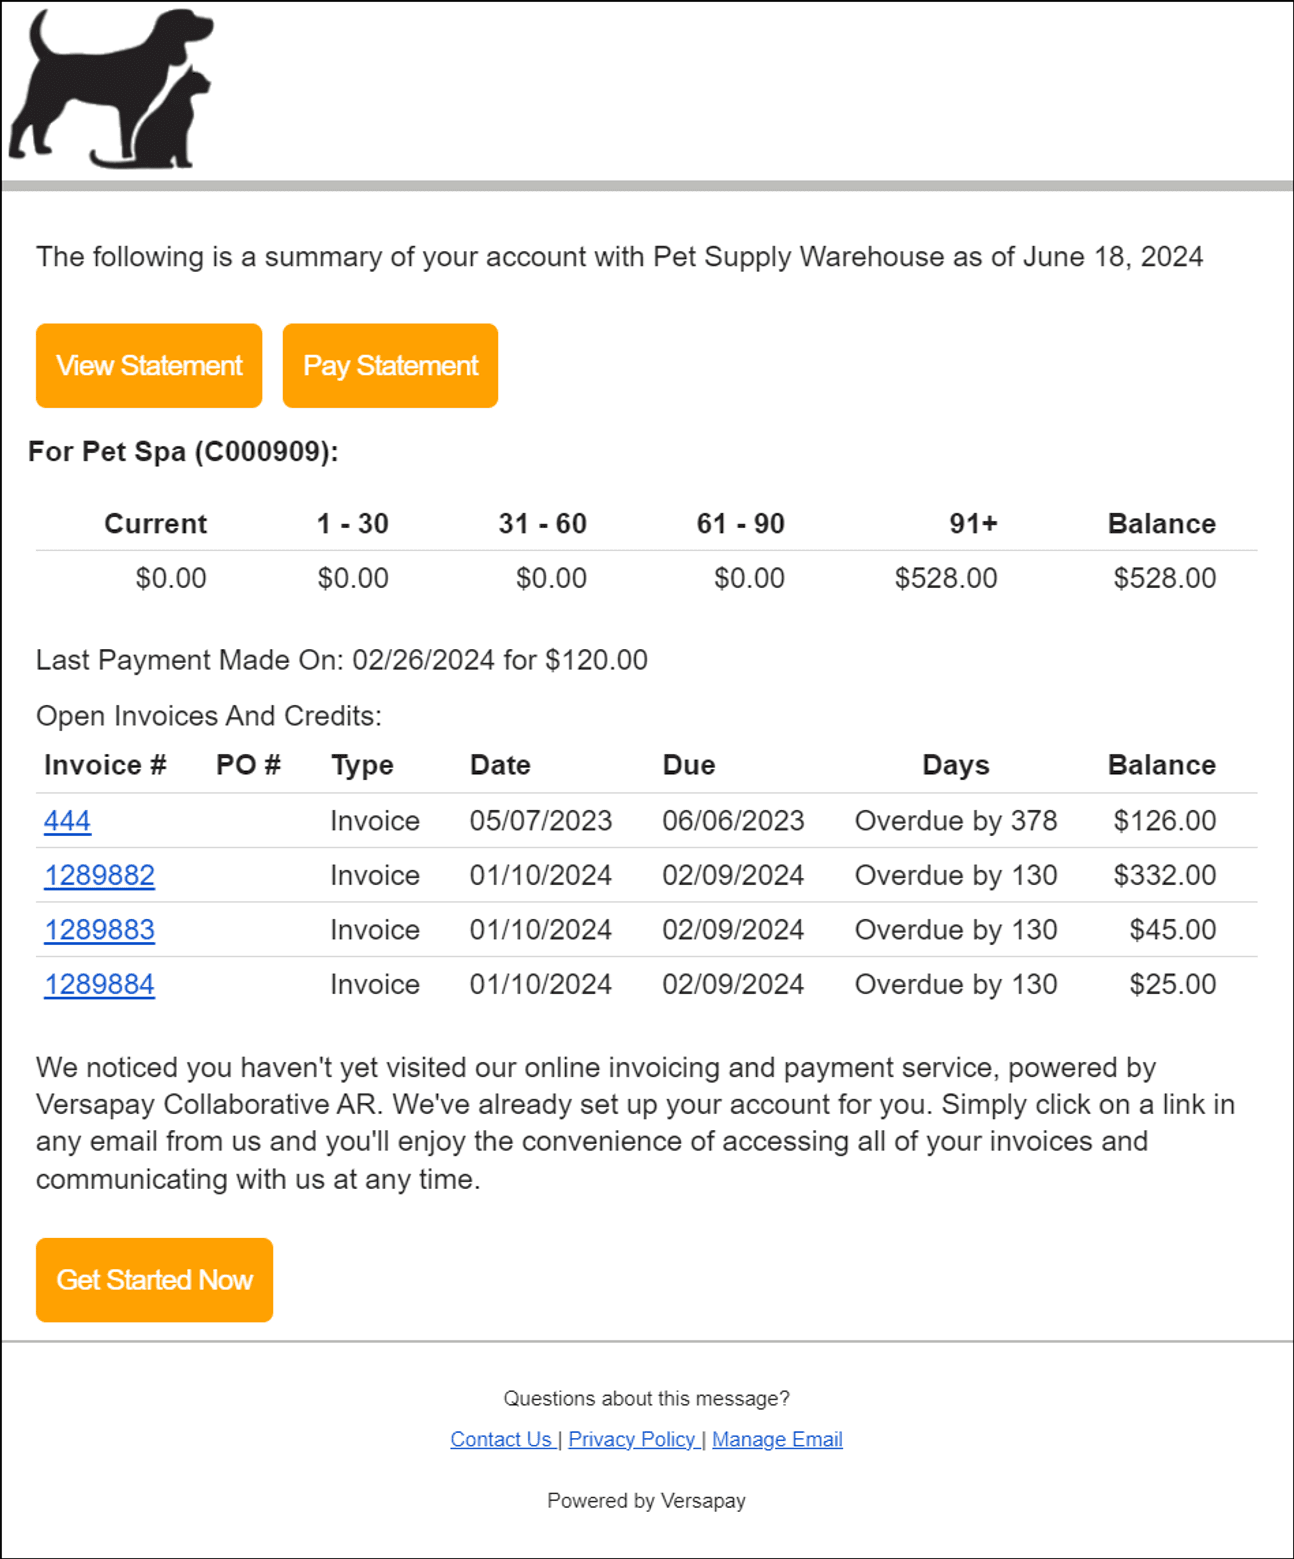
There are two ways to pay a statement:
- from an email statement notification

- from the Invoices listing page

Pay a statement from an email notification
- Open the email notification with a subject that reads like this: “Statement for May 2024 from Pet Supply Warehouse”.
- Click the View Statement button.
- If you’re a signed-up user, you’ll be prompted to enter your credentials (email/password), but if you’re an Express user, you’ll be taken directly to your customer portal. The Invoices listing page should be pre-filtered to show all the open invoices and credits that make up the statement in the email notification.
- Click the Pay Statement button. (Note: If Pay Statement is disabled, then the statement no longer contains any open invoices, i.e., there’s nothing to pay.)
- On the Ready To Pay page, select a payment method and click Continue.
- Click Complete Payment.
Pay a statement from the Invoices listing page
- Click Select a Statement. The dropdown expands to show your most recent statements, to a maximum of six.
- Select a statement date. The Invoices listing page refreshes to show all the invoices and credits that make up the selected statement. (Some of the invoices in that statement may have been already paid. Check the ‘Status’ column in the grid. If there are paid invoices and/or used credits, you can use the other filters on the page to show just open overdue invoices. The other alternative is to open a more recent statement.)
- Click Pay Statement. The Ready To Pay page opens with all the invoices and credits that make up the statement. (The Ready to pay link at the top of the page includes the number of invoices that will be paid.)
- Choose a payment method and click Continue.
- Click Complete Payment. When you return to the Invoices listing page, you’ll still be able to select the statement that was just paid, but you’ll notice that after it’s selected, the Pay Statement button is disabled.